
I decided to do a deep dive on Defender for Identity and this is part 1 of that series.
What is (was) Defender for Identity?
Defender ATP was before called Azure Advanced Threat Protection (Azure ATP) and Defender for Identity was Advanced Threat Analytics (ATA).
ATA was the first stage of Identity protection and it came to End-Of-Life phase on January 12, 2021, and the extended support will be continued until January 13, 2026.
So it’s time to move to Defender for Identity and Azure ATP from legacy solutions.
How to install Defender for Identity
Installing is an easy process. If you don’t already have an instance, you have to create one.

And then connect to On-premises AD.

and then you have download the sensor.


For the installation you need.
- A standard AD user account and password. Required for sensors running Windows Server 2008 R2 SP1.
or
- A group Managed Service Account (gMSA). Requires Windows Server 2012 or above.
All sensors must have permissions to retrieve the gMSA account’s password. For information about creating a gMSA account, see Set up a gMSA account.
gMSA is preferred because you don’t need to cycle passwords.
- For sensor machines running Windows Server 2012 and above, we recommend using a gMSA account for its improved security and automatic password management.
- If you have multiple sensors, some running Windows Server 2008 and others running Windows Server 2012 or above, in addition to the recommendation to use a gMSA account, you must also use at least one standard AD user account.
- By default, Defender for Identity supports up to 30 credentials. If you want to add more credentials, contact Defender for Identity support.

After install is successful you can check state of the services example with PowerShell.

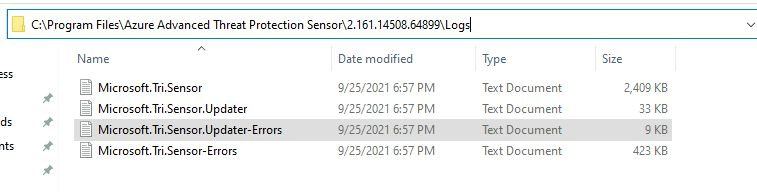
And if you find any errors during the install, sensor not starting etc. You can find the logs here.
Here is more debugging info from Microsoft.
And finally you will see the sensor running inside Defender portal.

Now you have the sensor up-to-speed.
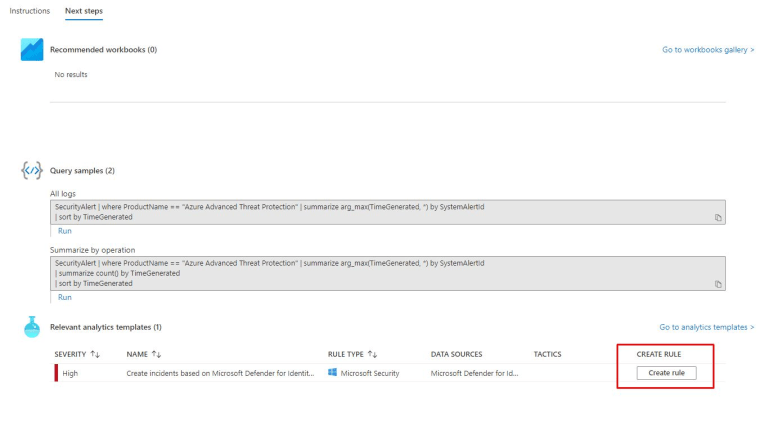
Sentinel integration for log analyzing
Open Sentinel from Azure portal and choose Data connectors then find Defender for Identity.


Create a rule for ATP incidents.

If you want to forward logs from standalone server to ATP sensor, you can use Event log forwarding.
In the next part of this series I will cover Cloud App Security and Defender for Endpoint integration with Defender for Identity.

Stay tuned,
 RSS - Posts